I use our raw milk in everything from pancakes to yogurt, but I really like making butter. It is a fair amount of work for not much final product, but it sure tastes great on roasted fingerling potatoes! If you have never made butter, it's worth doing at least once just for the experience. The process is simple. Here is a little picture tutorial for you:
Start with several quarts of non-homogenized, whole milk (if you don't have this kind of milk available, you can just buy some heavy or whipping cream from the grocery store, it will work just as well).
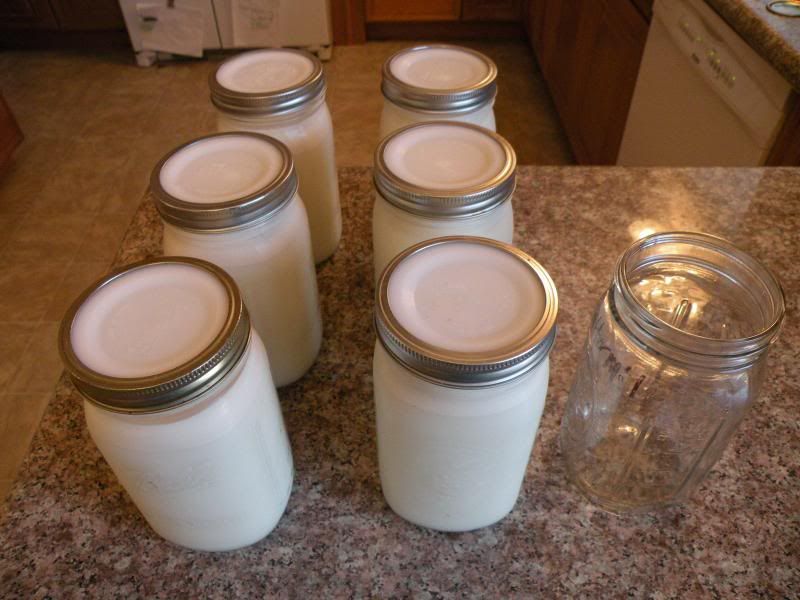
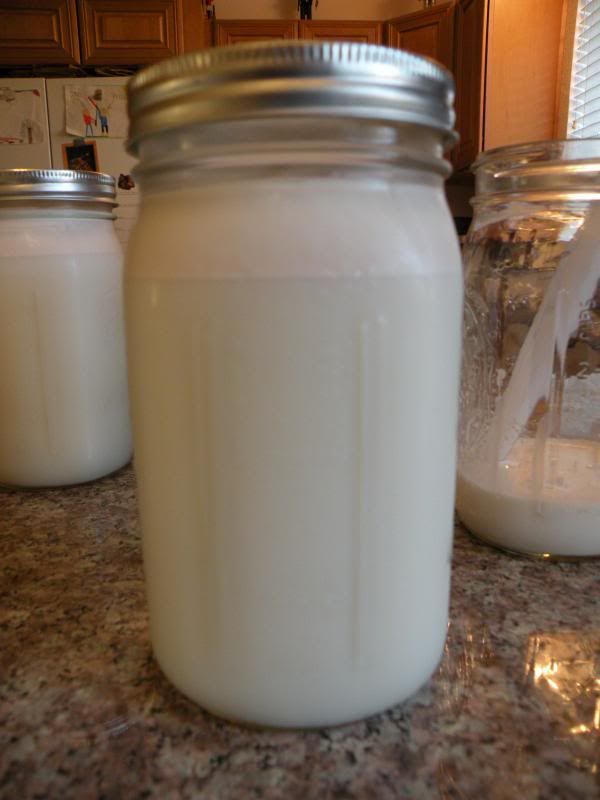
You can see the cream that has risen to the top of this jar.
Use a turkey baster to skim the cream off the top of the jars.
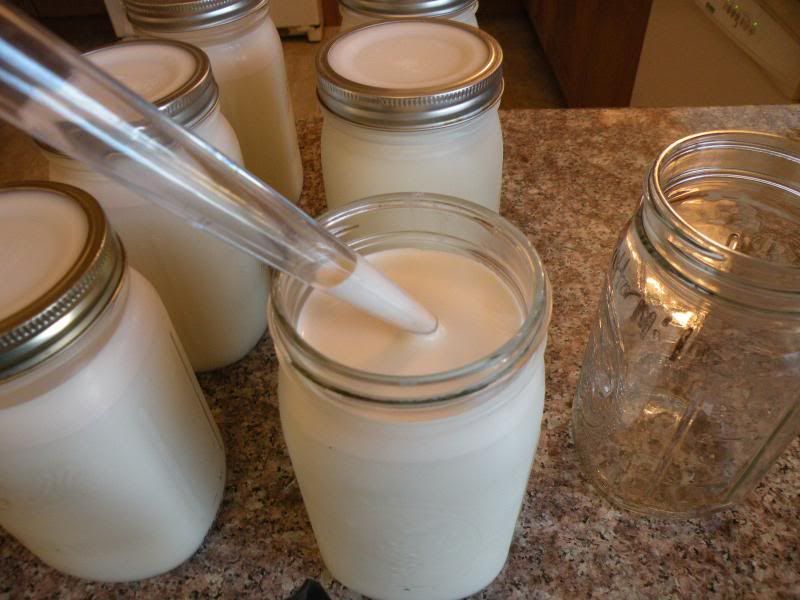
Put the skimmed cream into a clean jar and make sure you cap it tightly!
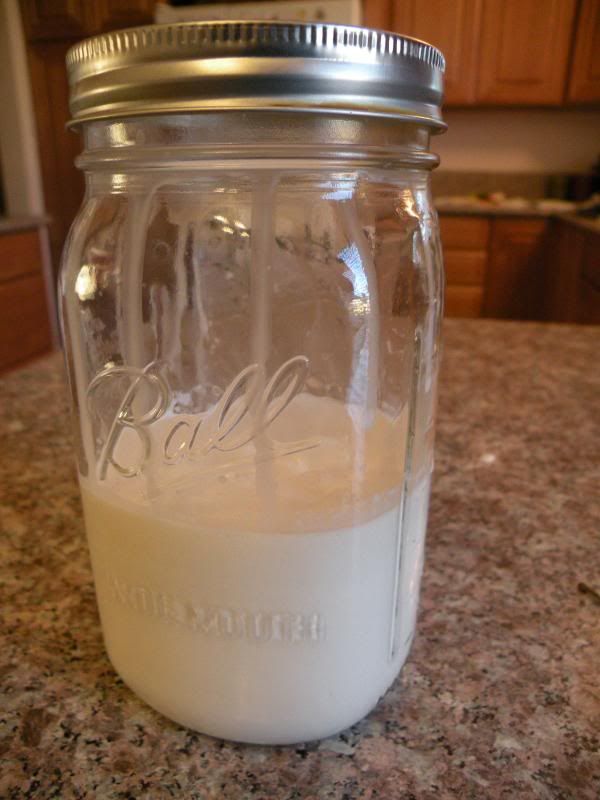
Sit down in front of the TV or something else to keep your mind off how long this next step takes. Shake the jar... a lot.
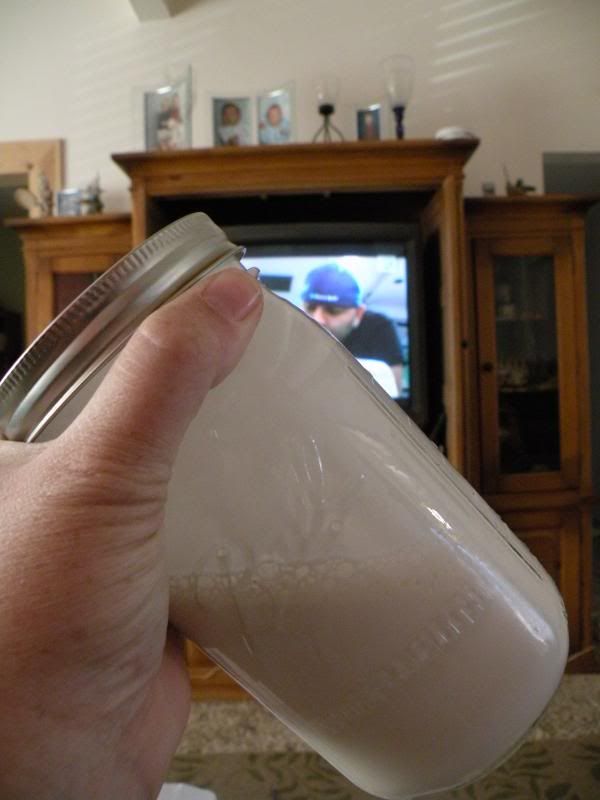
This step takes around 15-20mins. In my family, I do this alone, but if you can get someone to take turns with you, it will be much easier. The milk will seem to grow in volume due to air being mixed in. If you open the jar after shaking for a bit, you will see a lot of froth.
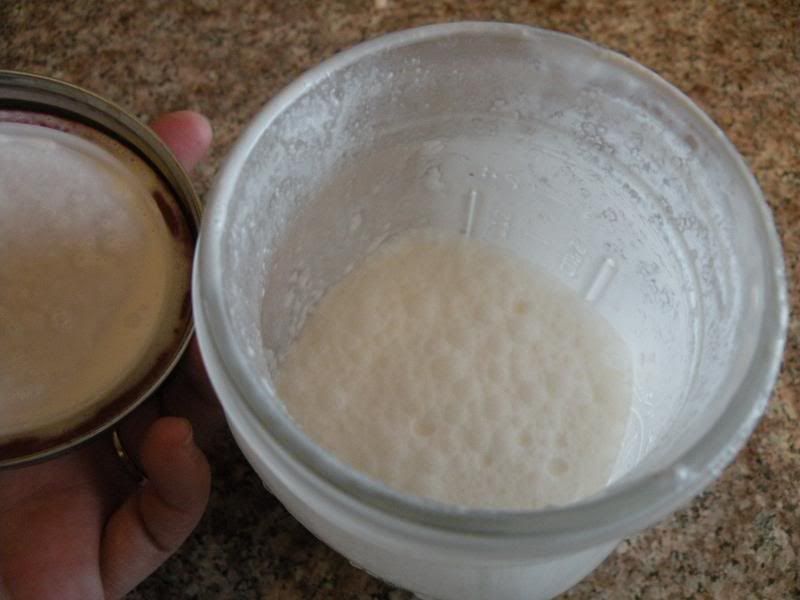
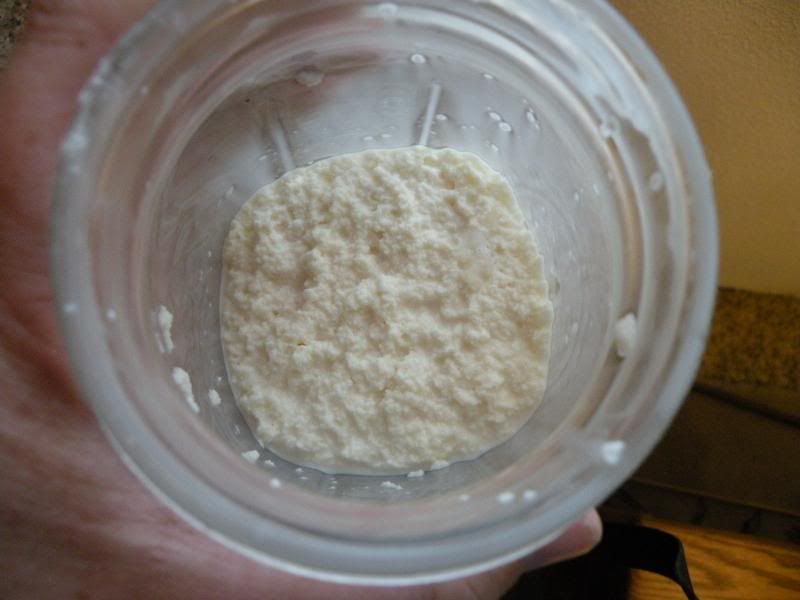
Once your arms feel like they are about to fall off, you will be almost done. Just keep it up! Look at the side of the jar. If it looks kind of lumpy, you probably have butter! Shake for another minute just to be sure. Open the jar to see if it looks like this:
Dump your butter out into a strainer (make sure there is a bowl or something underneath!).
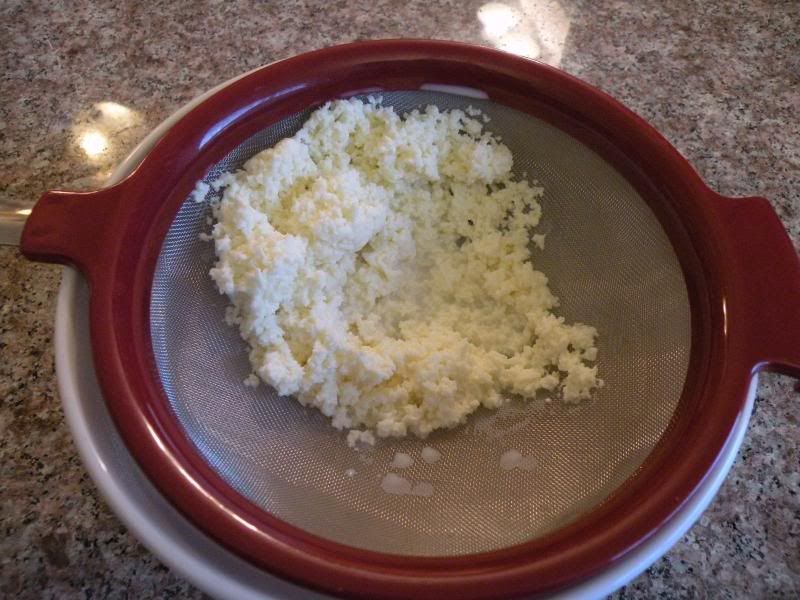
Use a spoon or, if you have it, a butter paddle to press the buttermilk out of the butter. This is an important step. If there is a lot of buttermilk left in the butter, it will taste a little off and spoil much more quickly.
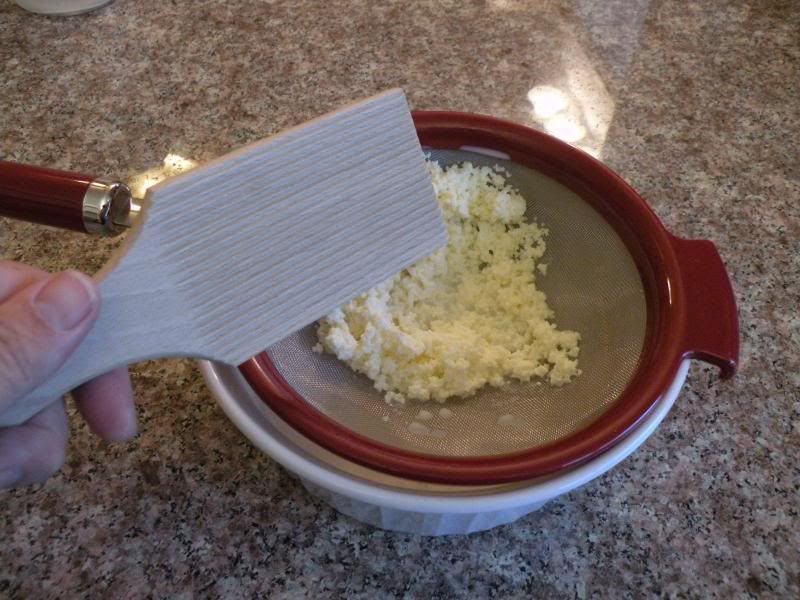
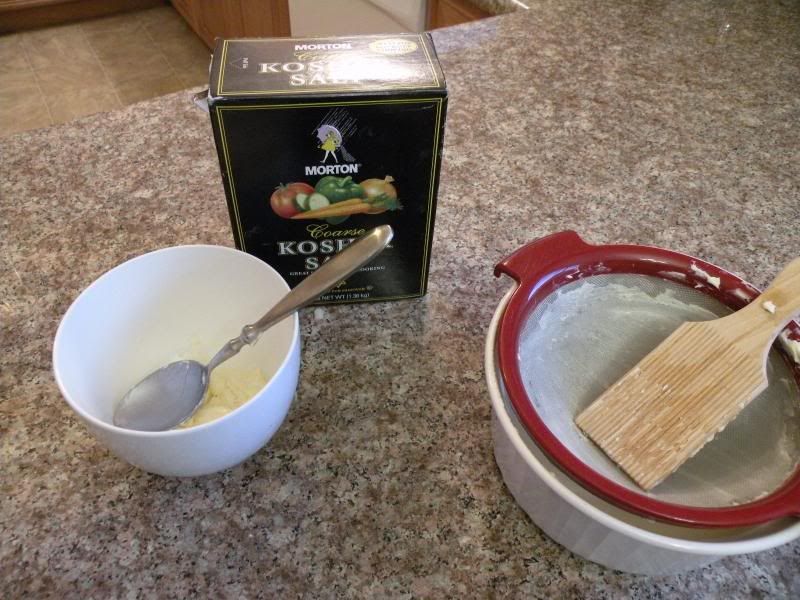
After you have pressed out the buttermilk (making sure to scrape the butter off the underside of the strainer that got squeezed through with the buttermilk), put your butter into a bowl and add salt if you desire. You can taste your butter to see how much salt you want it to have.
You can keep your butter in the fridge, but I keep mine in a butter bell. It keeps the butter fresh but at room temperature so that it is soft when I want to spread it on something.
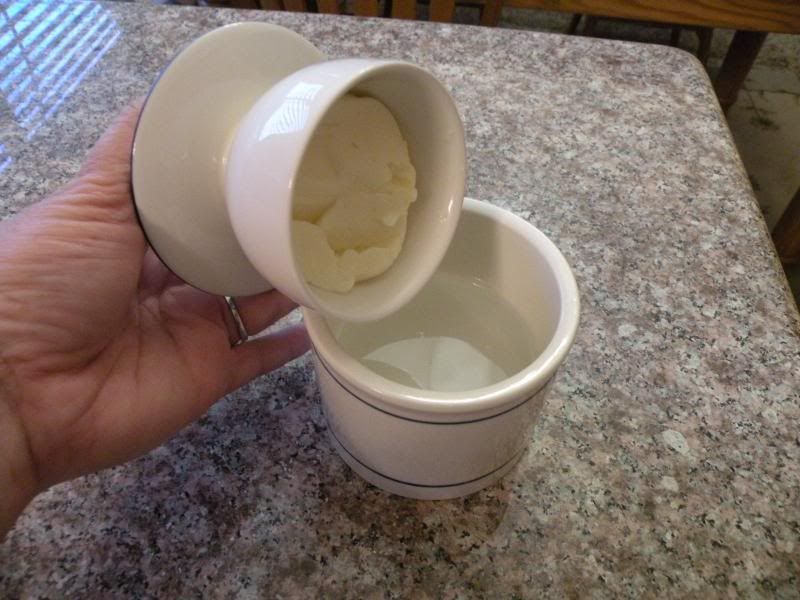
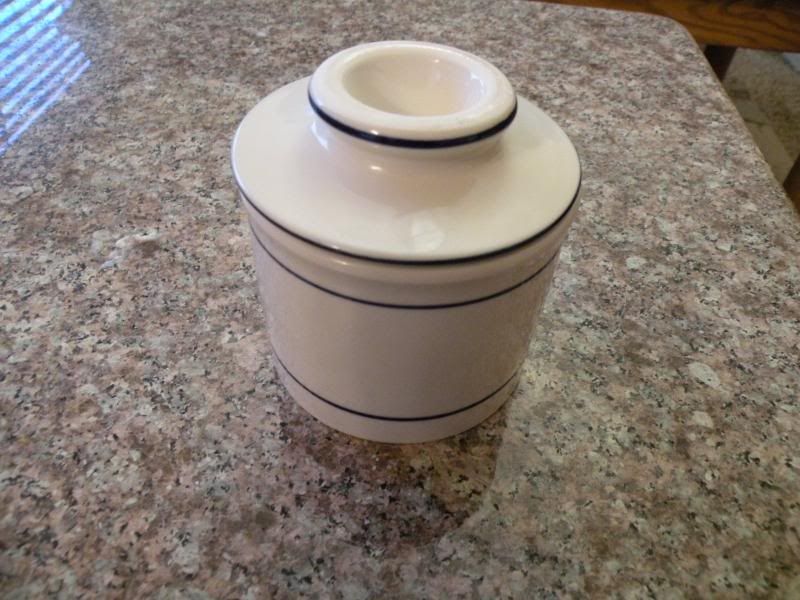
Butter bells are filled partway with water so that when you lower the lid which contains the butter, the butter is surrounded with cool water that keeps it from going rancid. Plus, I just think they look neat. As I said earlier in this post, my favorite way to use fresh butter is on roasted fingerling potatoes with a little salt and pepper. Nothing better!
*Don't throw away the leftover buttermilk. It isn't like the buttermilk you can buy at the store as it hasn't fermented at all. I use the leftover milk in things like pancakes and biscuits just like any other milk.

1 comment:
Great post. I like how you use proper tools, the butter paddle and butter bell) and explaining their how and why. And the photos were perfect.
Post a Comment