Sunday, August 29, 2010

Berry Picking

We went blackberry picking a couple weeks ago and got about a gallon, but it was obviously a little early in the season. The ripe berries were a bit hard to find and we got a fair amount that weren't completely ripe , but we did alright. We decided to go back this weekend figuring that the season should be in full swing. It definitely was! There were lots of berries even though we could tell that there had been people there picking the day before most likely. If I had a good, high pair of waterproof boots, we would have gotten much more. The farm boots I have would have been too short for the level of the creek. As it was, we probably got about two gallons (minus what the boys ate while picking). We sure had a lot of fun!

The boys (all three of them), with their berry buckets.

Photobucket


Demonstrating how they tested the quality of the berries.

Photobucket


Hmmm, maybe this is why their buckets weren't very full...

Photobucket


When we got home, we made some blackberry lemonade using the delicious berries from today and some of the lemon juice from the big bag full of lemons that I juiced and saved earlier this summer.

Photobucket


Now I just have to figure out what I want to do with them. I may make some blackberry syrup and/or jelly. The syrup sounds extremely good to me right now. Yum!

Thursday, August 26, 2010

Hit and Run Chicken

A few evenings ago, my husband was sitting in the living room and all of a sudden called the rest of us over and said we needed to look outside. Looking out the window, we saw a small brown chicken talking with our girls. She doesn't belong to us and I have no idea where she came from. I know there are other people around my neighborhood who have chickens, I hear roosters crowing on nearby streets if I am out walking in the morning. None of our bordering neighbors have chickens though. Our walls are all 6ft or higher and you can't see through them (no chain link, just wood slats or blocks). This little hen must have heard my girls cackling and decided to pay them a visit. I'm glad the dogs weren't out when she came calling.

Photobucket

She walked right into our run and up the ramp to the coop. She didn't eat any of the pellets we had out, but she did take a short dust bath. She seemed to really like being up on the roosting bar in the run. Boy was she a talker! I don't think she ever closed her beak for more than a few seconds at a time. My husband picked her up and she was extremely nice. Definitely belonged to someone at some point. Frankly, she was nicer than a few of my girls. I was hoping she would want to stick around. I thought maybe she would follow my girls into the coop for the night, but she chose the neighbor's lemon tree instead.

Photobucket

The next morning, she was still in the lemon tree, singing her little heart out. She made sure everyone was up and around, then she took off. We haven't seen her since. I hope she finds a nice place to stay and maybe a rooster to keep her company.

Photobucket


*I know that in the interests of bio-security, we don't want strange chickens mixing with ours unless they have been quarantined but by the time we saw she was there, she had already been interacting with our hens. Hopefully she was just as healthy as my girls and we won't be cursing her in the coming weeks.

Tuesday, August 24, 2010

Saucy Tomatoes

This post is, as I'm sure you guessed, going to be about making tomato sauce. Before I get to that however, I have to put in a plug for the caramelized onion jam I made a couple weeks ago. I found the recipe here on this blog . The smell as it was cooking was amazing! I did take pictures of the process, but that was before I realized I don't currently have a way to move pictures from my camera to my computer so I can't show them to you right now. Without smell-a-vision, they wouldn't do it justice anyway. I used some of this great jam for the first time tonight. I wanted a quick meal since I had just gotten home from work and the boys were coming home from swimming at a friend's house and were ravenous. I heated some olive oil in a pan, threw in some chicken I seasoned fairly lightly with salt and pepper and browned it on both sides. Then I tossed in a couple big spoonfuls of this jam and let it melt in the pan. I turned the heat down and finished cooking the chicken in the jam. It was fantastic! I have to be honest; when I tasted the jam as I was making it, I thought it was going to be too sweet. The sweetness really mellowed as it cooked with the chicken and it ended up being just the right amount of sweet with a ton of flavor. If you are looking for a slightly unusual jam, try this one. Yummy!

Alright, so on to tomato sauce. I did plant a couple paste tomato plants this year, the first time I have tried those varieties. I planted one Roma and one San Marzano. They have both done decently well. I think I prefer the San Marzano simply because the fruit is more uniform in size and the plant grew a little better for me. The Roma had fruit that varied from the size of grapes up to the size you normally get from a paste tomato in the grocery store. I just wasn't that thrilled with it. Either way though, I didn't plant enough paste tomatoes. I think that to fulfill my yearly sauce needs, I will need at least a dozen paste tomato plants. I'm not sure I will ever have that kind of space. Luckily, I can find local, organically grown tomatoes at my farmers market. This week, I saw that one vendor had paste tomatoes for sale and I asked if they would give me a deal on what they had left. She gave me a decent price and I took somewhere around 5-7lbs of tomatoes home.

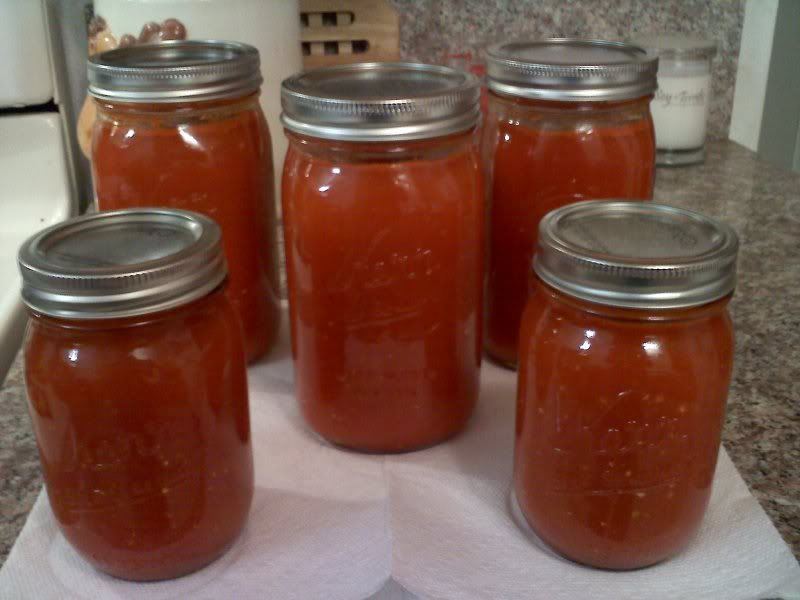
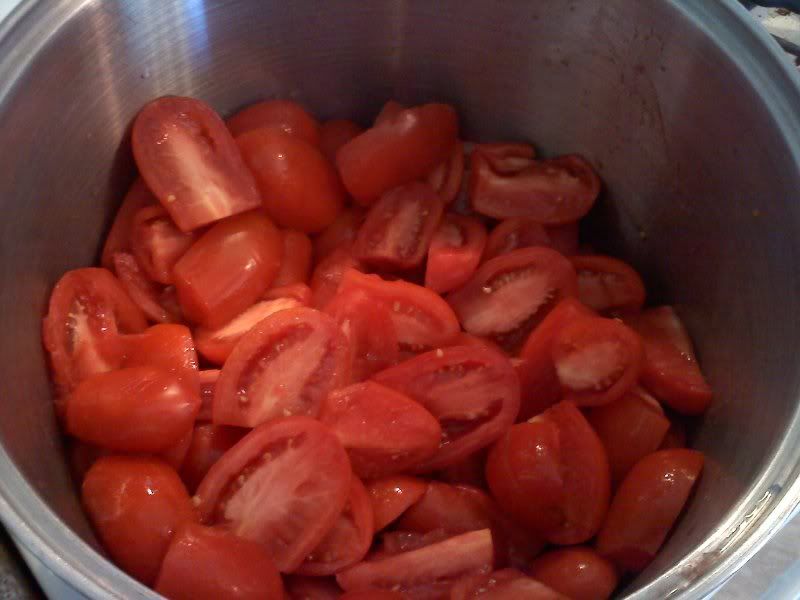
I have already canned some of my homegrown tomatoes this year. I have a couple quarts of hot pack tomatoes and a couple quarts of raw packed. I really needed some sauce that I could just pull out of the pantry, heat up and add minimal ingredients before serving. I made the sauce while I was working on the pickles from the previous post. Luckily tomato sauce doesn't require too much attention. All I did was wash the tomatoes, cut them into halves or quarters and chuck them into a large stock pot to cook.

Photobucket


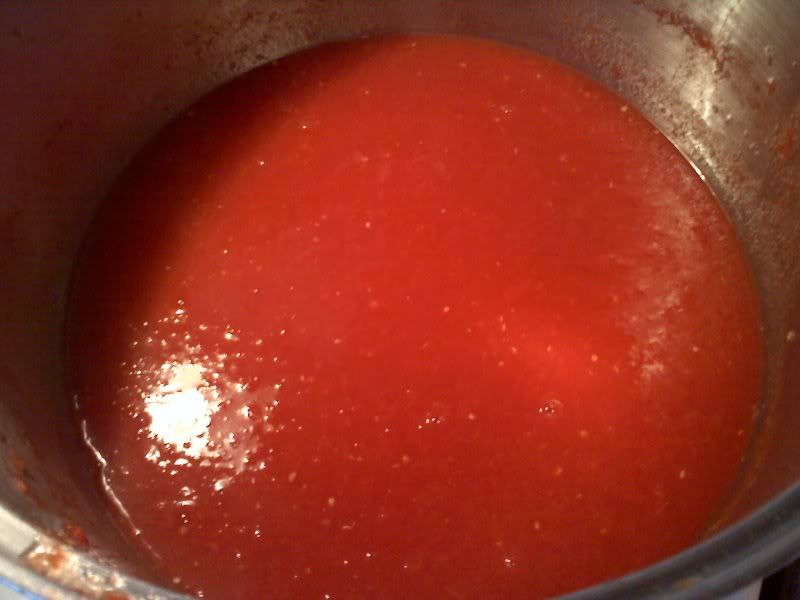
After they cooked for a while, I ran them through my food mill to remove the skins and the majority of the seeds. I love my food mill. It has made my life much easier. After the skins and seeds were removed, I cut up some onion and added it to the pot along with some garlic, lemon juice, salt, and pepper. I let that cook for a while longer and then hit it with my stick blender. We don't care for a lot of chunks in our sauce so the result is a nice smooth sauce that is ready to be used in a variety of ways.

Photobucket


When I use it for spaghetti, I will probably pour it in a pot, add a few other spices and let it simmer while I get the rest of the meal made and the table set. That should be all it will need. If I use it on pizza, it will need even less since I won't be simmering it before use. The only things that went into the sauce that weren't local were the salt and pepper. I love that it tastes great and I don't feel like I am doing a tongue-twister just to pronounce the ingredients!

Photobucket

Sunday, August 22, 2010

Pickles!

I have no talent for growing cucumbers. I have tried numerous times now with the same results each time. I get a few oddly shaped ones in the beginning of the season, then the vines wither and seem like they are going to die. They manage to struggle back to life and flower but none of the flowers get fertilized and the little baby cukes just shrivel up and die on the vine (yes I know I could hand pollinate them, but I'm too lazy for that). So I end up buying my cucumbers from the farmers market. It's not exactly what I hope for, but at least I know where they come from. I found some decent looking cukes today and decided to make pickles. I also picked up a bunch of jalapenos since the five plants I currently have in the garden are acting like freeloaders and only putting out small peppers on a very irregular basis. It has only recently gotten hot enough for them to even start growing, let alone produce fruit so I'm letting them slide for now. I was glad to find things to pickle and declared today to be pickling day in our house!

Cucumbers in ice water for a couple hours before slicing and packing them in jars.
Photobucket


Sliced and ready to go. I lopped off the ends to make them fit into pint jars and then sliced the ends to make a pint of sliced pickles as well.
Photobucket


Jalapenos also sliced and ready (remember to wear gloves when working with hot peppers!).
Photobucket


My prep station for the cucumbers. I made basic dill pickles and put some slivers of jalapeno in a few jars since I like my pickles with a little kick. The main ingredients are vinegar, water, salt, garlic, dill weed, and dill seed. I also used some pickle crisp (the white stuff in the jar) since I have heard good things about it from other people. I'm hoping it will do a good job of keeping my pickles crisp and tasty.
Photobucket


The jalapenos didn't need a prep station. I just mixed all the ingredients in a pot, brought it to a boil, the poured it over the jalapenos that I packed in the jars. The ingredients for the jalapenos were vinegar, water, salt, olive oil, and pickling spice. Super easy.

Finished jars. I got five pints of dills and four and a half pints of jalapenos. I can't wait to see how they turn out!
Photobucket

Photobucket


I swear that one of the these days I will get some decent pictures up here. I have my camera back, but since our computer was stolen when my husband's truck got broken into while on vacation, I can't transfer the pictures. The computer I am currently using doesn't have a handy little place to plug in the memory card and we can't find the cord for the camera. Someday I will remember to pick up a new cord so that people will be able to see that I can actually get a subject in focus when I'm not stuck using my phone for a camera.

Sunday, August 15, 2010

Jammin!

I have gone on a jam making frenzy this year, though not nearly as much as I wanted to at the start of summer. So far I have made plum, rhubarb, lemon marmalade, and blackberry-fig. With the exception of the rhubarb, all the fruit came from sources within 15mins of our house. The rhubarb was still a US product, but I'm not sure how far it had to travel to get to me. The plums came from a friend's tree. The lemons from a lady who posted on freecycle that her lemon tree needed to be picked. The blackberries were wild ones that we went and picked up on the mountain a couple days ago, and the fig was a gift from a neighbor's tree. If only I had a local source for sugar...

We are going blackberry picking again in a week or so and I hope to get enough to make a batch of plain blackberry jam. We have some blueberry bushes in the backyard that are doing well so maybe next year we will have blueberry jam as well. I am trying to think of what other fruits I can easily get locally to make some more flavors. I'll have to see if I can trade finished jam for fruit with friends who have different trees next year.

Some of this year's jam. From left to right there is: blackberry-fig, rhubarb, plum, and lemon marmalade.

Photobucket

Monday, August 9, 2010

Building towers and friendships

My boys and I spent this weekend at a homeschool expo that is held every year about 10 minutes from where we live. This was the first year I decided to bring the kids with me. My Mom was nice enough to come help out when I was busy with sessions and couldn't be with the kids and my husband kindly brought things to us that we had forgotten as we were staying at the hotel. As usual, I had a great time and got some great ideas for things to do in the coming years. There were a few sessions on gardening with your children and the couple of those sessions I made it to were definitely my favorite.

The boys met some new people, made some new friends and just generally enjoyed themselves. They did go to a few sessions but I think the thing they liked the most was the huge supply of Keva planks they had for the kids to play with. They spent the majority of their time in the Family Village area building towers and other such things. The one they were most proud of was a circular tower they managed to get about 8 feet tall. They had a great time building it and then took out some planks at the bottom and watched the whole thing collapse. Great fun!


Photobucket

Photobucket

Photobucket


When it was finished, they had to pose for a picture as if they were going to knock it down with their fists.
Photobucket

Sunday, August 1, 2010

Yogurt

Making yogurt can be very simple if you use a store bought yogurt as your starter. All it takes is a good sized dollop of yogurt with active cultures. Make sure you choose one that doesn't have any sweetener or fruit mixed in, just plain yogurt. Choose a variety that you already like because the resulting yogurt will take its flavor from what you use as a starter. This was my first attempt at making yogurt. It came out well but I think next time I will use a little less milk so that I end up with a slightly thicker end product.


As with the vinegar cheese, I started with two quarts of fresh, raw milk. I added 2/3 C of powdered milk to mine to help thicken it. I started by heating the milk slowly until it reached 185 F. I then allowed it to cool down to 110 F. I just let mine sit and cool on the counter while I stirred it occasionally but if you want to cool it faster, you can put the pot in a sink of ice water. Just keep a close eye on it because it will cool down very quickly if done that way.

Photobucket


After it was cooled to the correct temperature, I added a few heaping spoonfuls of the plain yogurt I was using as a starter.

Photobucket


I have a yogurt maker, so after the plain yogurt was stirred in, I simply poured the milk into my yogurt maker, put the lid on, and left it to sit on the counter. I have heard of electric yogurt makers, but the one I have isn't. It is like a mini cooler. It has a removable plastic bucket where you pour in the milk and the bucket sits inside a styrofoam housing. All it does is keep the milk at the correct temperature for the yogurt cultures to incubate and turn all the milk to yogurt.

Photobucket

Photobucket


The mixture sits in the yogurt maker for 7-10 hours. When it is done, I simply spoon the yogurt into the container of my choice. Very easy and delicious!


You can easily make yogurt without a yogurt maker though I have not done it this way. These directions are taken from a thread at backyardchickens.com and are not written by me:

Pour the mixture into a quart sized jar. Wrap in a dishtowel to insulate.

Using a second jar, fill it with boiling water. Wrap it in a dish towel to insulate.

Place both jars in a small cooler that you have heated with hot water***. Allow the yogurt to cure for 10 - 12 hours. When the milk is set to a solid it is ready. Refrigerate and serve cold.


***Do not leave water in the cooler. Fill the cool with hot water while you are preparing everything then pour it out. You simply want a warm place to incubate your yogurt cultures.