Tuesday, December 28, 2010

Chicken Clipping

We spent a few minutes clipping wings this morning.  It is an insurance measure since we have been letting the girls out to forage in the yard after our big rain storm hit and they had been spending so much time standing around in the mud.  Since they love foraging out in the yard, I worry that they might try to get back in there even when they are closed in the run.  The vast majority of the roof of the run is covered in chicken wire but there are a few small spaces where the young ones might be able to get out.  Just in case, we clipped all of their wings except the girls who are still in molt.

I have posted a link on how to clip wings previously but this time we had the 10 year old take pictures.  This is something that can be done by one person but since Dave was available, I had him do the holding while I did the clipping.  It is easiest to do while sitting as your legs can support the chicken underneath while your hands can restrain the rest of the body.


Dave holding Hedwig.
Photobucket

Gabrielle.
Photobucket

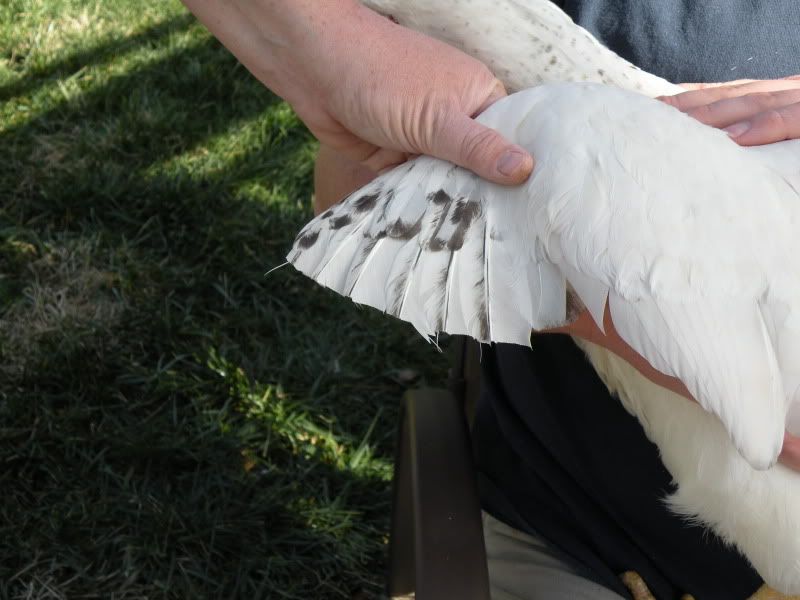
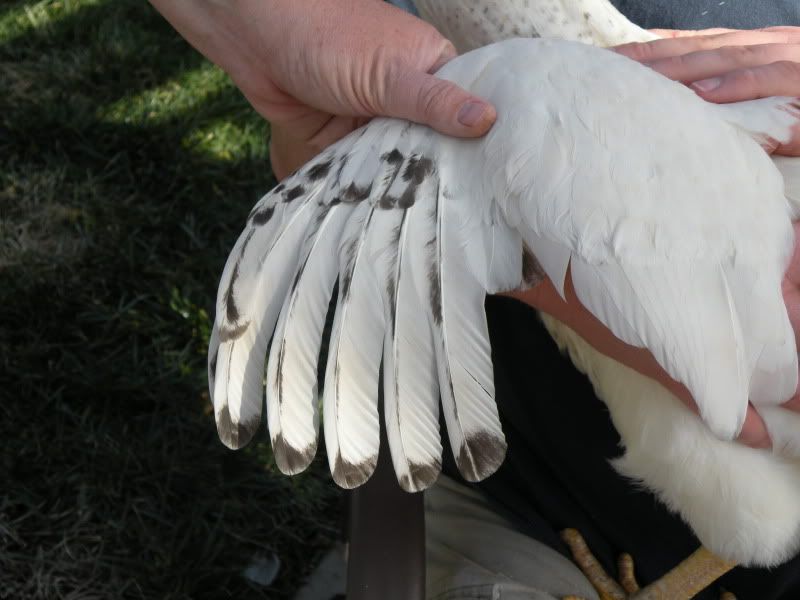
Gabrielle's wing extended.  You can see the primary flight feathers are easy to distinguish.  They are those first six or so long feathers.
Photobucket

Simply trim the primary flight feathers back using a sharp pair of scissors.  This doesn't hurt the chicken at all.  Some people only clip one wing but I clip both as I have had birds figure out how to deal with only having one side clipped but none of them have been able to fly well with both sides clipped.
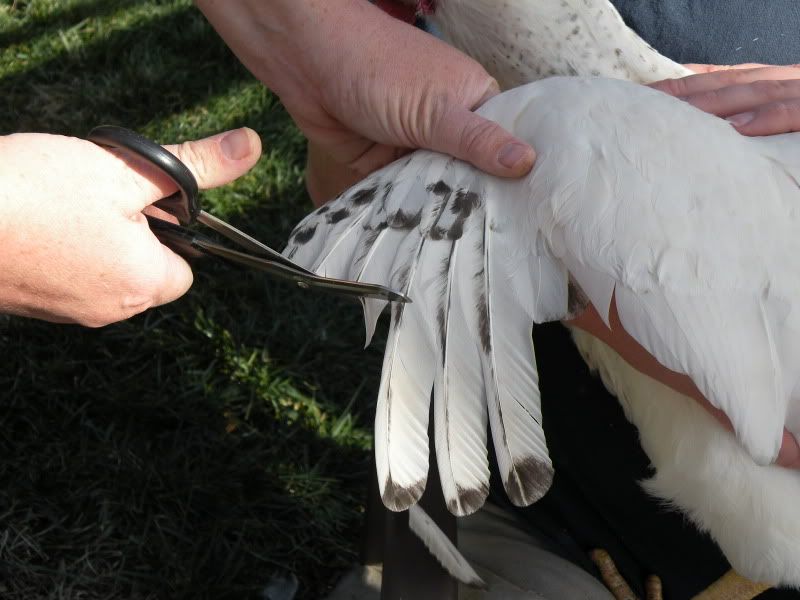
Photobucket

The finished wing.
Photobucket


When the bird is sitting or standing as they normally do with their wings folded, you can't tell that they have been clipped.  You only see the clipped feathers when they have their wings extended.

I feel that clipping wings makes our girls safer since they won't be able to fly out into the yard where the dogs would be waiting to eat them.  If your birds free-range, clipping wings may not be a great idea as you want them to be able to get away from any predators that they may encounter and having clipped wings will impeded their ability to get away.

Sunday, December 12, 2010

Where is winter?

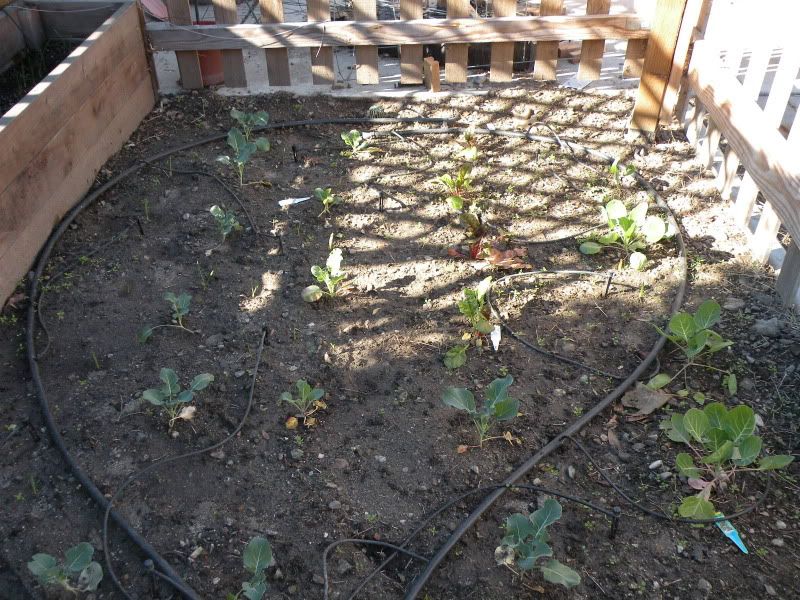
I know some of world is currently under siege by a massive storm but here in southern California we are having a heat wave.  It was already 74 at 9:30 this morning.  Truly depressing.  After living in Alaska, Wisconsin, and even northern Arizona, I really don't care for these California "winters".  We don't ever really get winter, just some brief periods of cooler weather.  Last year, my kids never even changed from wearing shorts to wearing pants unless we were on vacation somewhere it actually got cold.  The only thing I really like about all this warm weather is that I can garden year-round without ever having to do anything special to baby my plants.  Of course, sometimes my cool-weather plants don't get enough cool weather to fully mature.  Last year, my brussels sprouts started flowering before the sprouts even got to be eating size.  I'm hoping not to have a repeat of that this year though with the current weather, I'm not holding my breath!

I've still only planted half the garden.  I am hoping to find the inspiration to get the rest of the back garden planted this week.

Photobucket


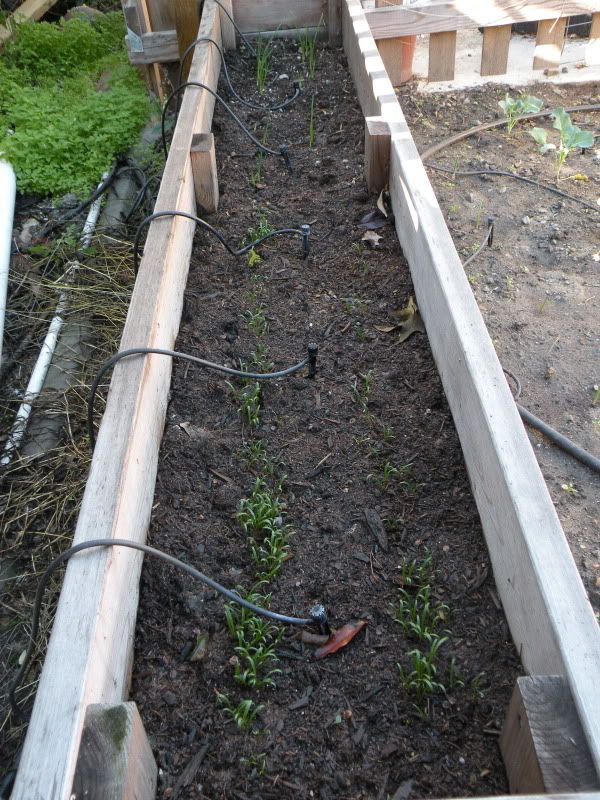
My tall raised bed is currently hosting spinach and red onion.

Photobucket


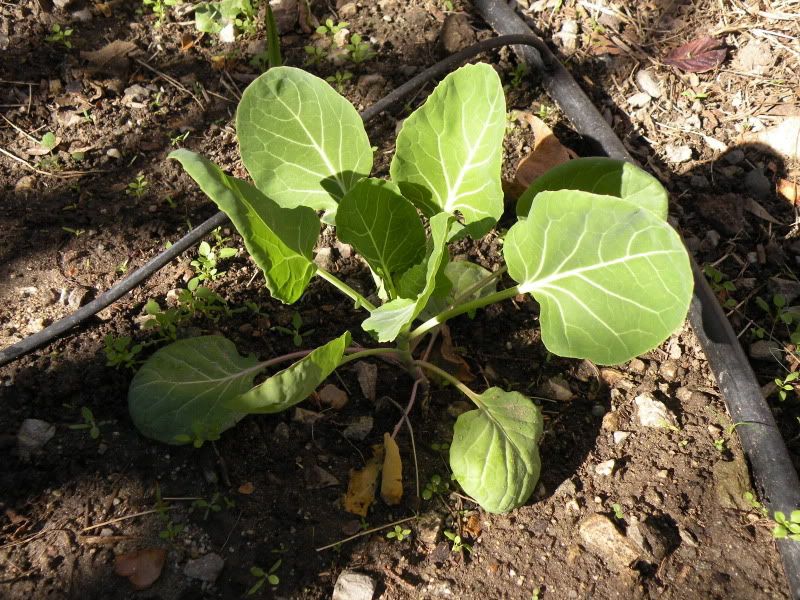
One of the brussels sprouts plants that I am currently pinning all my hopes on (they are my very favorite veggie!)

Photobucket


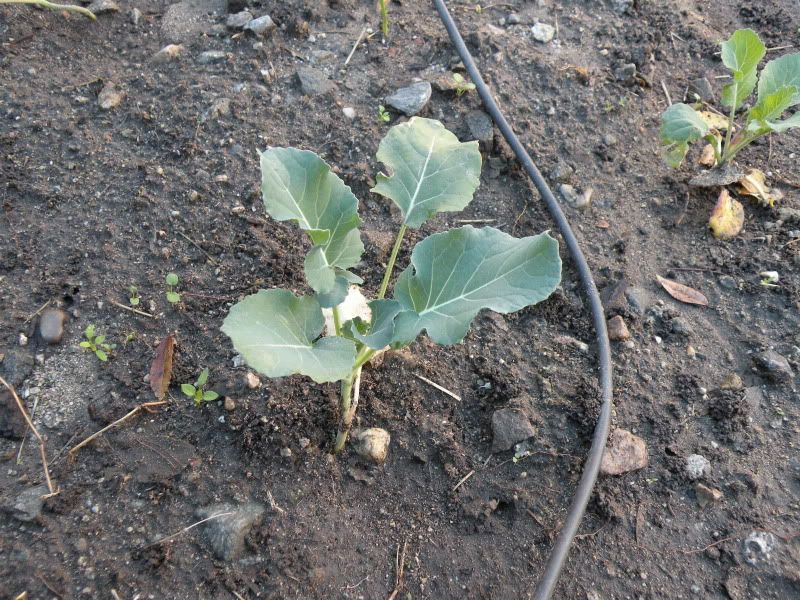
I planted twice as much broccoli this year as we went through it very quickly last year.

Photobucket


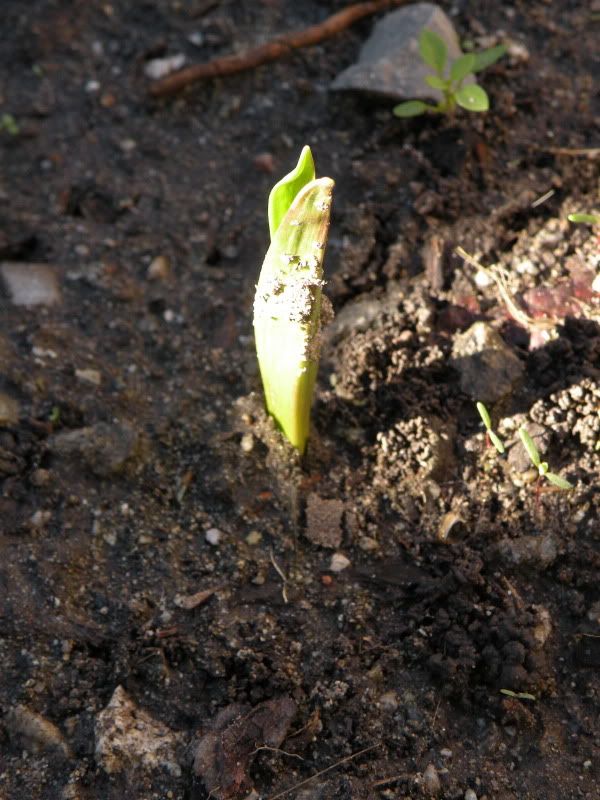
The garlic came up much more quickly than last year and I planted it earlier in the season as well.

Photobucket


A flower from the trumpet vine that covers the top of the chicken run.

Photobucket


Just for fun, some gratuitous chicken pictures!

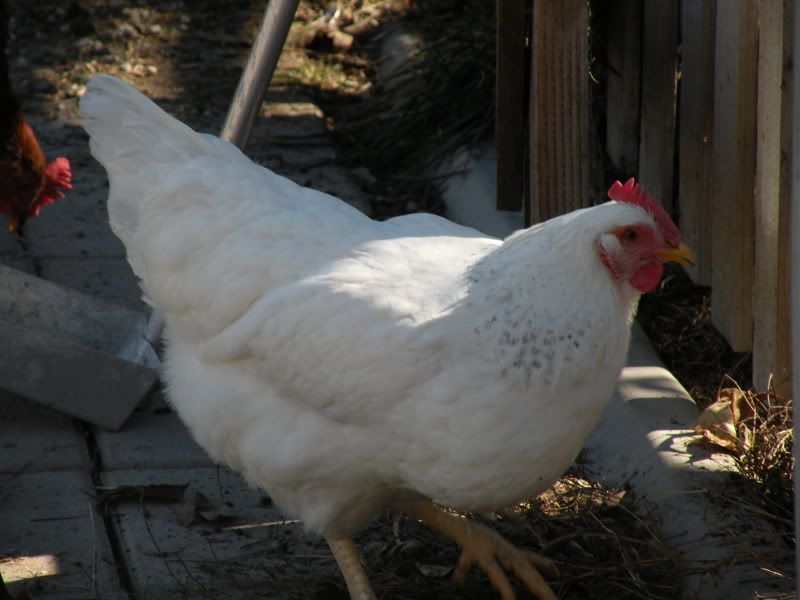
This Delaware is the only adult hen I have who has finished molting for the year.  She still isn't laying again though.  I am getting exactly zero eggs a day right now.  I hope they are resting up and will start again soon!

Photobucket


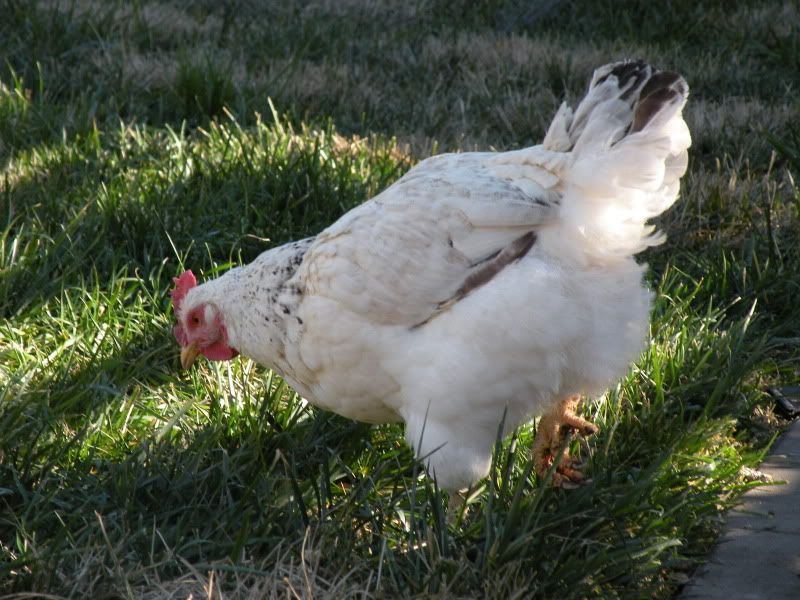
My other Delaware that is finishing with her molt and looks mostly normal:

Photobucket


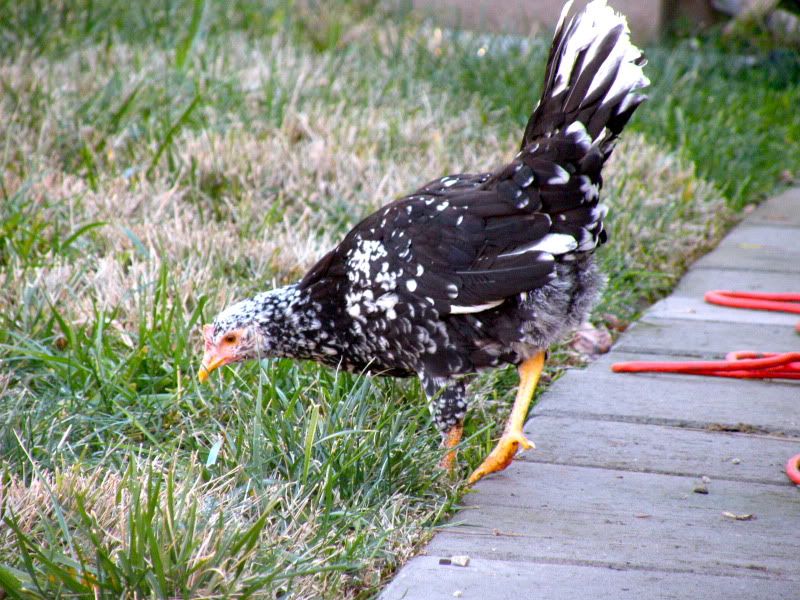
One of the young pullets I got a month or so ago (this one is an Ancona).

Photobucket


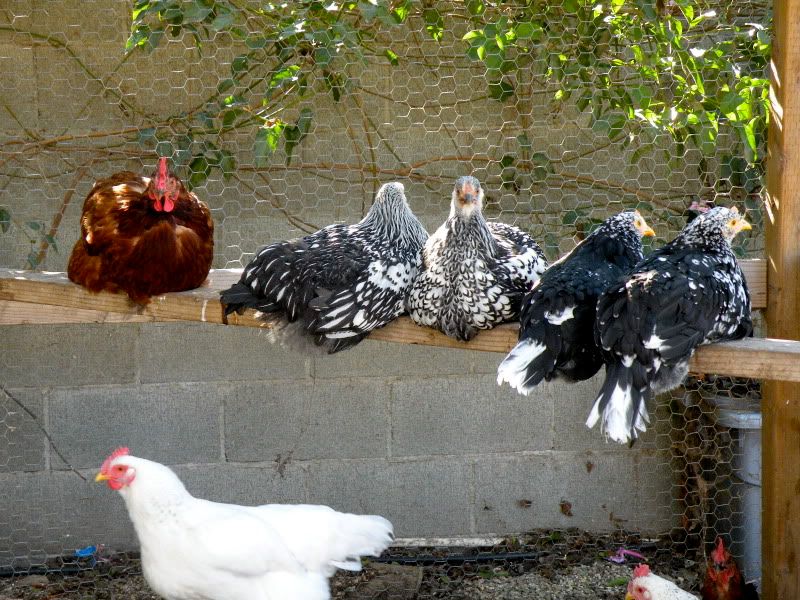
The young girls hanging out on the roosting bar in the run with my Rhode Island Red who currently has a lot of bare patches from her molt.

Photobucket


Next post will be on trying to figure out how to winnow chaff from sunflower seeds.

Wednesday, December 8, 2010

Pomegranates Galore!

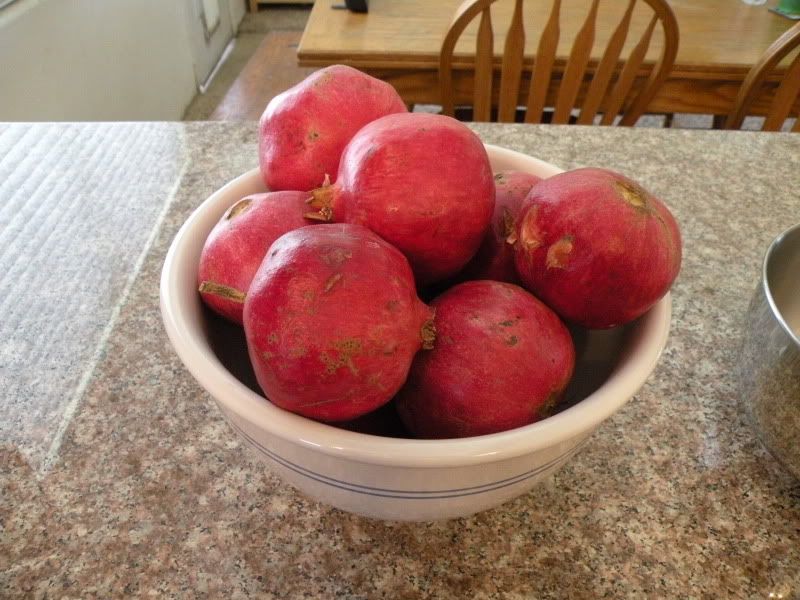
Photobucket

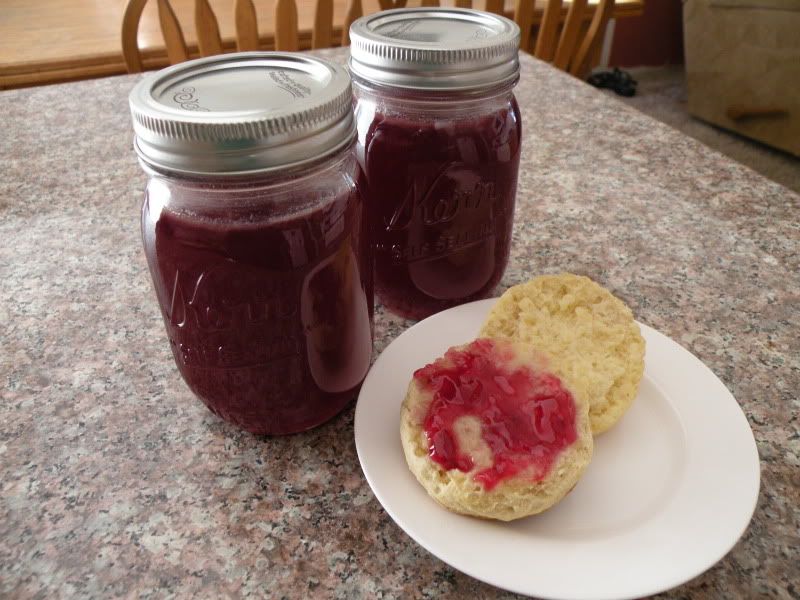
I love pomegranates.  Their sweet, tart taste is fabulous.  I like them on salads, plain, and especially as jelly.  This year, I was able to pick up just over a dozen at a decent price from a local source.  Making them into jelly was a long, involved process, but it was worth it!

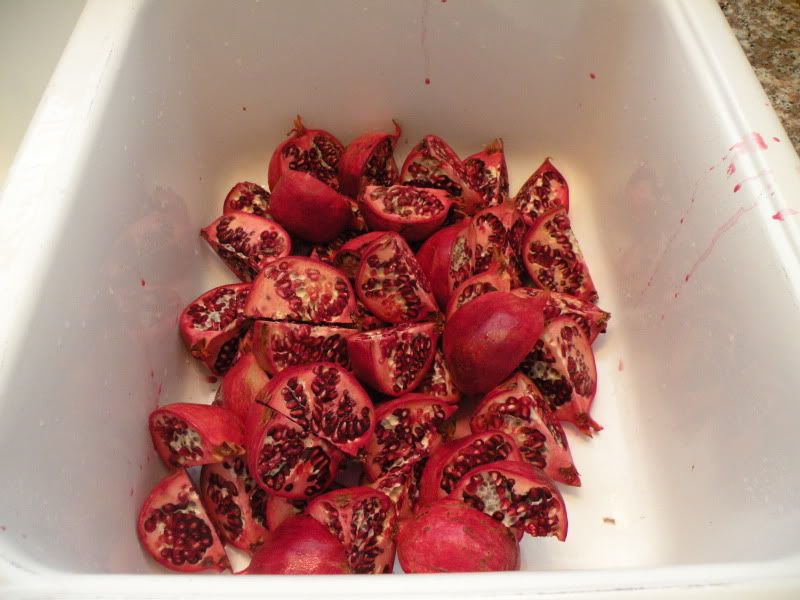
The first thing I did was quarter them and soak them in water.  I have been told that this helps to pop out the seeds easily.

Photobucket


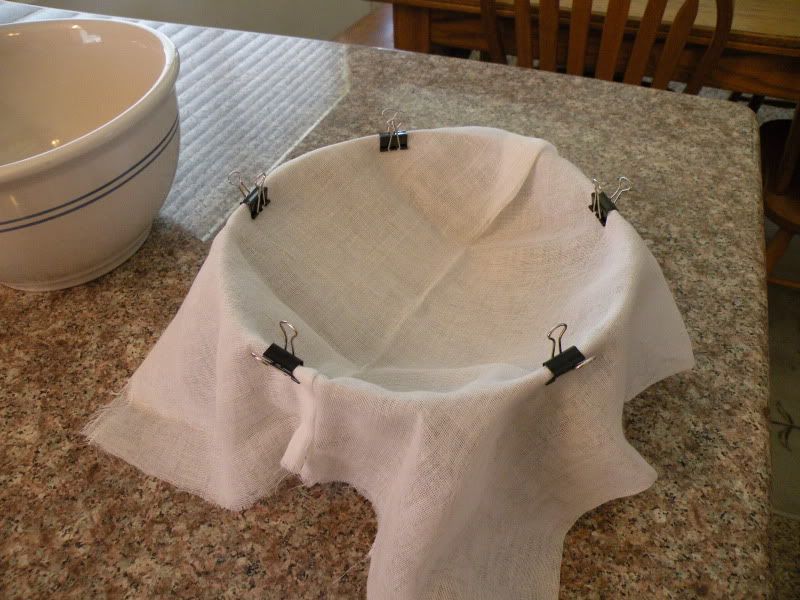
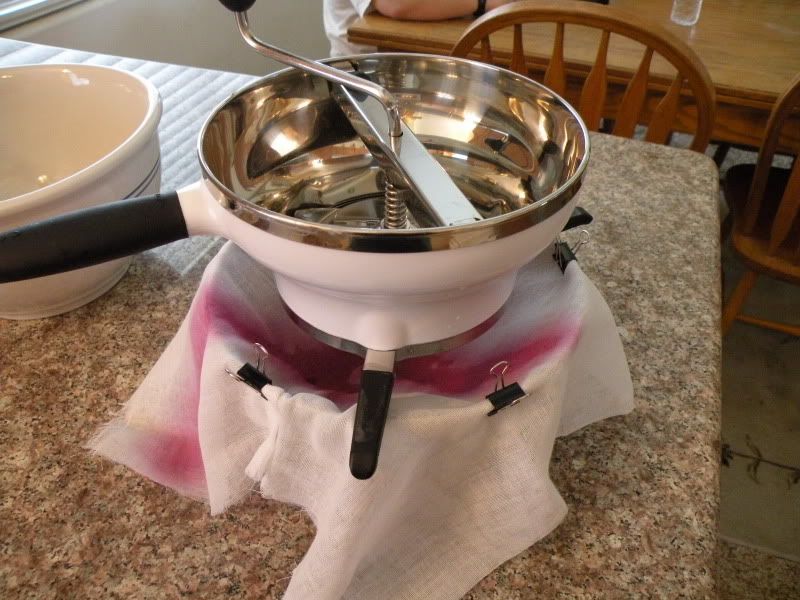
The next step was setting up my work area.  I clipped some cheesecloth (doubled over once), to a large bowl and put my food mill on top.

Photobucket

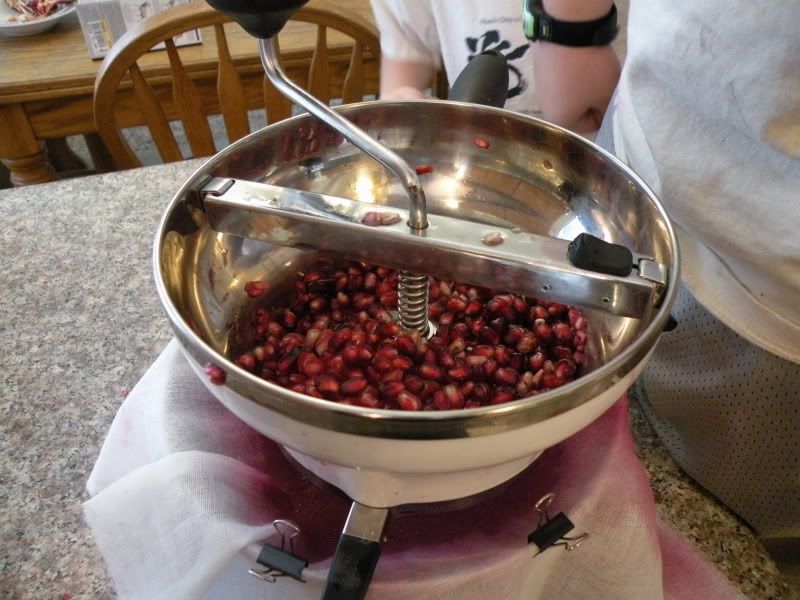
Photobucket


As I got the seeds out of the bitter pith, I just dropped them into the food mill.  When I had a decent amount in the mill, I just cranked it for a while until all of the juice had drained down through the cheesecloth and into the bowl (the boys liked helping with this part).

Photobucket


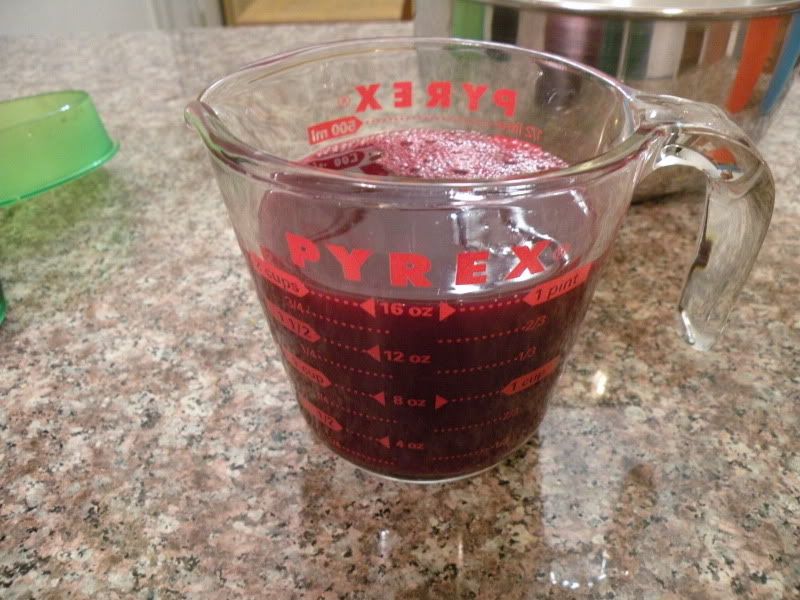
The resulting juice, while not completely clear, was perfectly good for making jelly.

Photobucket


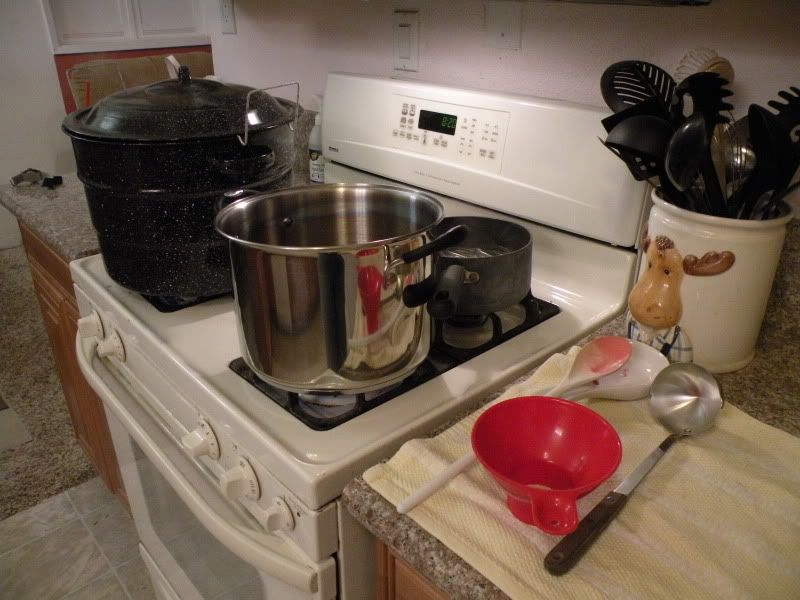
I set up my jelly making area just like normal.  Water bath canner on one burner, jelly pot on another; and the lids steaming in the back.  I had a cloth spread over the counter to make cleanup a breeze and put all my utensils on that.

Photobucket


The jelly didn't set as hard as most of my other jams and jellies this year, but it is still firm enough and it tastes great!

Photobucket

Tuesday, December 7, 2010

Giving Thanks

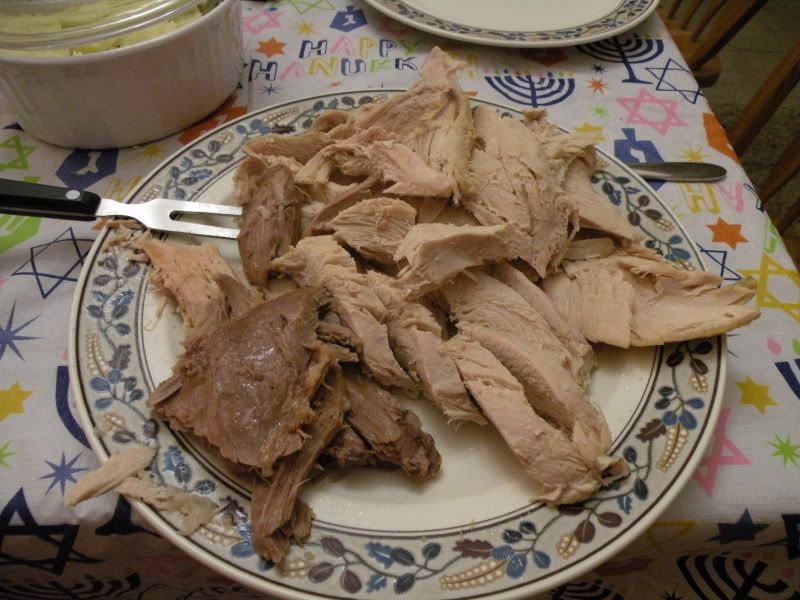
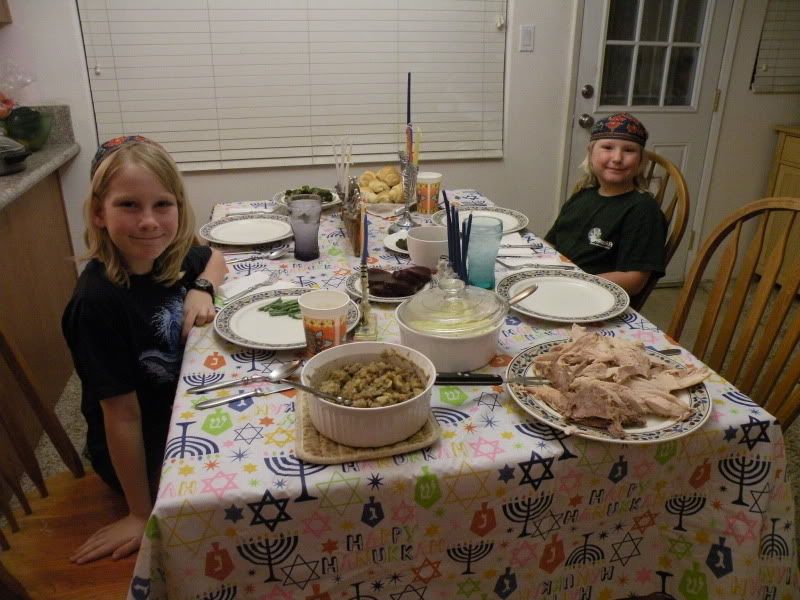
We had a belated Thanksgiving this year as Dave was sick over Thanksgiving weekend. The boys and I did go to Arizona and had a lovely time with my parents but Dave ended up staying at home and missing out on all the food (and good company!) We decided to do Thanksgiving at our house this last Sunday, Dec. 5th. We have been patiently waiting for our turkey at the farm to be ready for processing. Finally, the Monday before Thanksgiving, we were ready to process. There were 13 turkeys to be done and the majority of people waiting for the turkeys were on hand to help with processing. There was an area all set up at the farm that made it nice and easy to get it all done, and having so many people there was a great help. Many hands make light work! Dave and the boys were still camping so I went to the farm armed with a cooler, some trash bags, and a sharp knife. I really wish I had gotten some pictures of it before and after we cooked it, but I totally forgot. The best I have is some of the meat on a platter on our table. It was good though! I will definitely be buying another one next year. The dark meat really stood out, much darker than the meat from a commercial bird, and very flavorful.

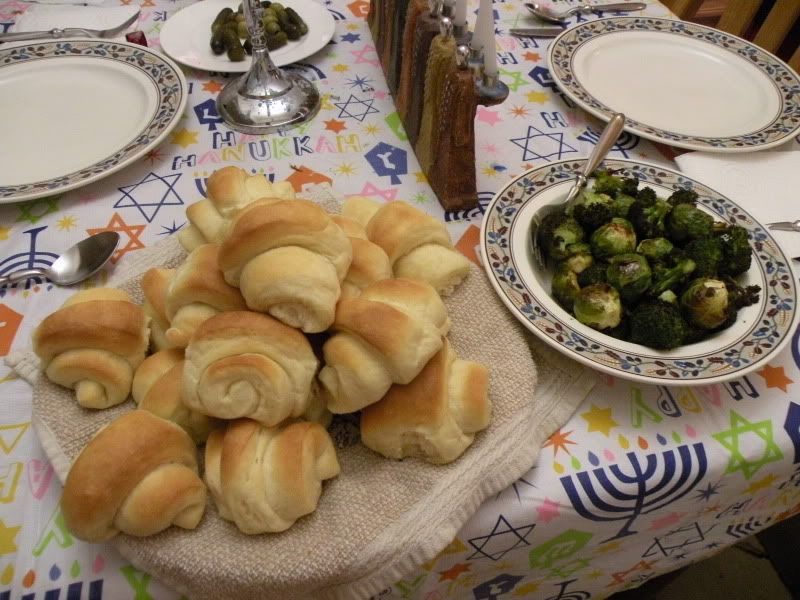
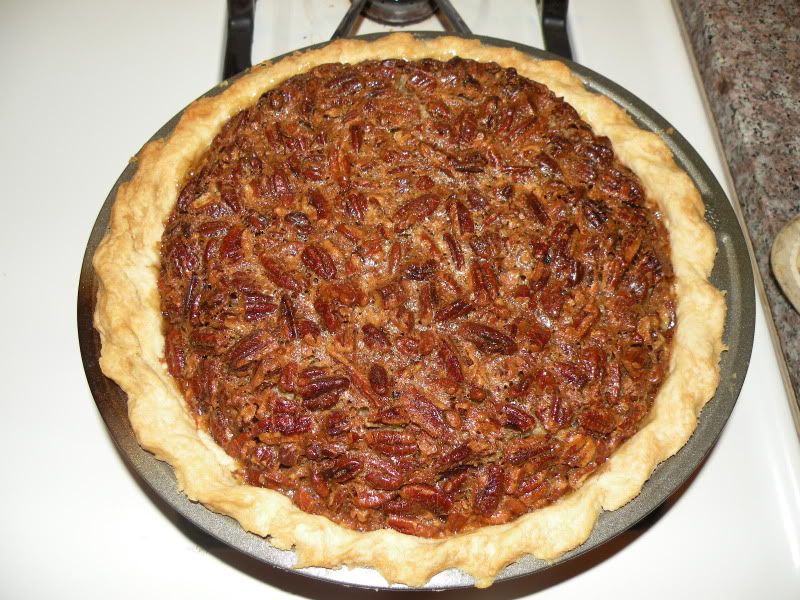
The rest of our meal consisted of roasted brussels sprouts and broccoli, crescent rolls (I think the best I have made in many years), stuffing, mashed potatoes, the ubiquitous jellied cranberry sauce (I couldn't bring myself to give it up this year), and a pecan pie. Pretty much a normal Thanksgiving meal but I was mighty proud of that local, farm-raised bird from Amy's Farm .

The only picture I remembered to take of the turkey (a Bourbon Red):

Photobucket


Various other pictures.  It was the fifth night of Chanukah when we had our Thanksgiving so the boys are wearing their kippot and our chanukiot are all set up and ready to light.

Photobucket

Photobucket

Photobucket