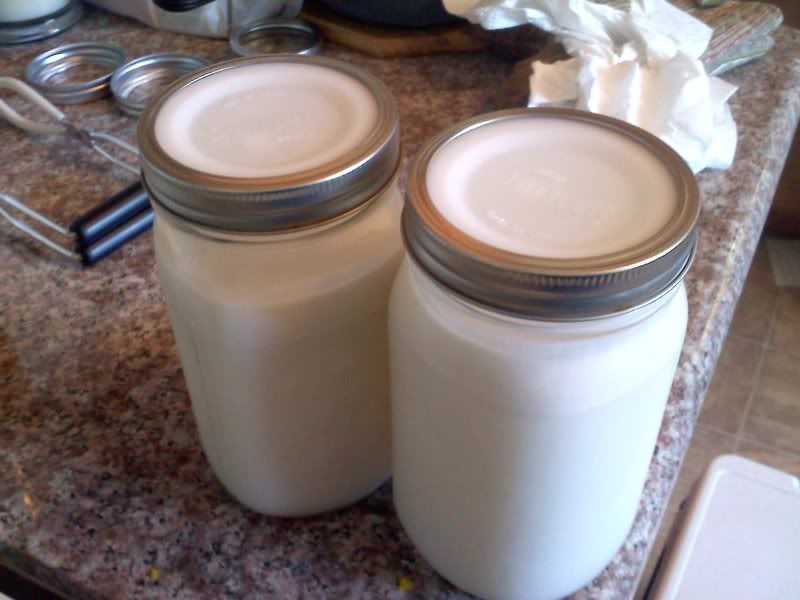
I started with two quarts of fresh raw milk though you can use milk purchased at the store. Avoid ultra-pasturized milk as it will not always separate as needed in cheese making due to the extremely high temperatures used during the pasturization process. I have read that the labeling required to show milk is UP can be very small and is not always noticed by the buyer, so check your labels carefully.
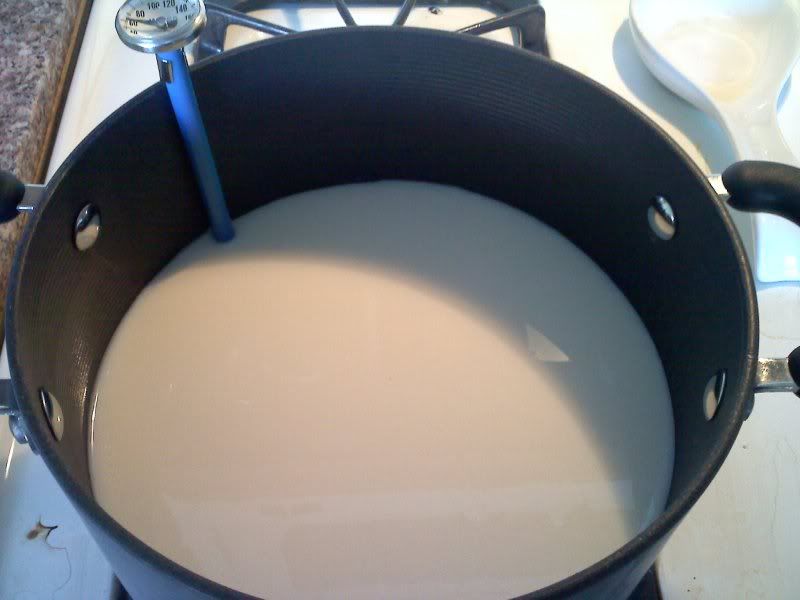
I heated the milk to a temperature of 185 F and then turned the heat down to the lowest setting to maintain that temperature while I got the vinegar and measured out 1/4C. I used regular white vinegar though you can also use cider vinegar, lime, or lemon juice. I haven't tried cider vinegar myself as I heard that the white vinegar keeps the flavor nice and neutral. I get more consistent results with the vinegar than when I have tried lemon juice. I have never tried using lime juice myself but I know it is supposed to work just like lemon juice (all you are really using it for is the acid which causes the curds to separate from the whey).
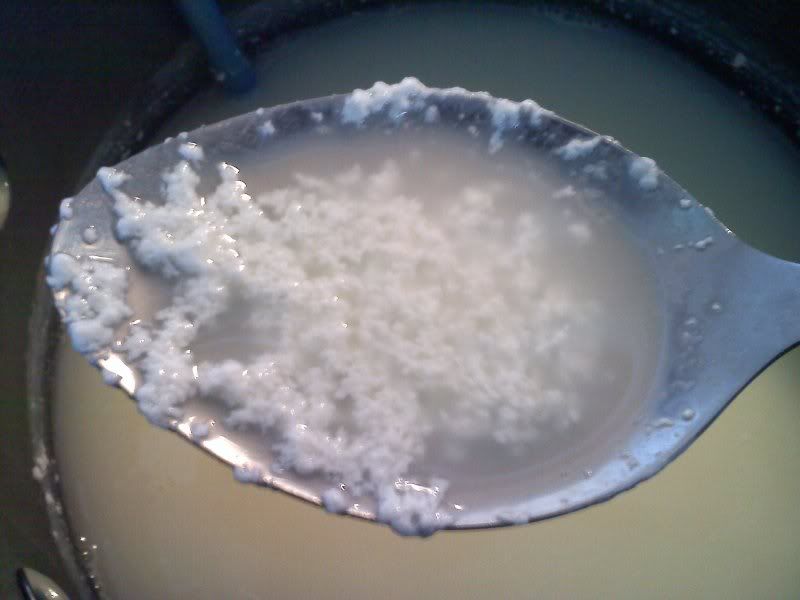
Once the vinegar is added and stirred in, the curds and whey separate immediately.
I used regular cheesecloth which I purchased from my local grocery store but since the weave is very loose, I doubled it over a couple times so I didn't lose too much of the curd when I strained it.
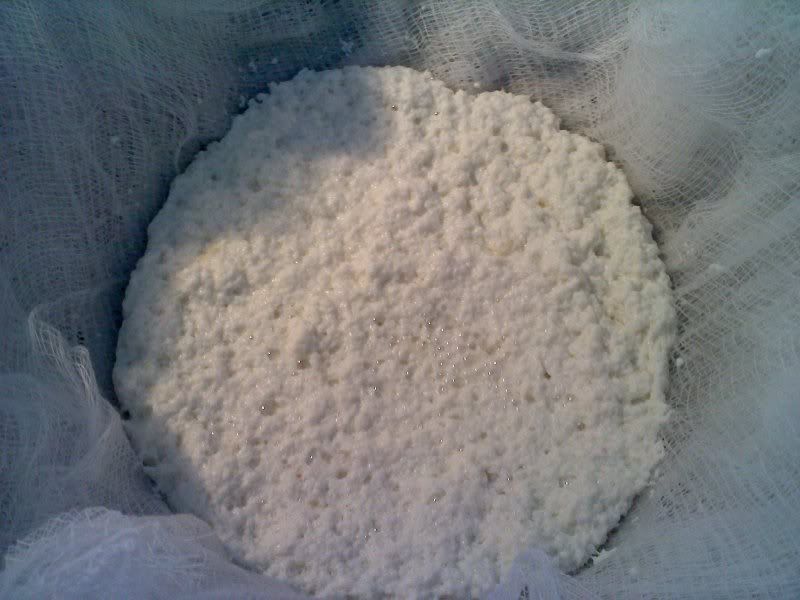
After I poured it into the cloth (with a strainer under the cloth for support), I pulled the corners of the cloth up and secured it with a rubber band. I attatched it with the same rubber band to my sink faucet and placed a cup underneath to catch any remaining whey. I let it sit there for an hour or so.
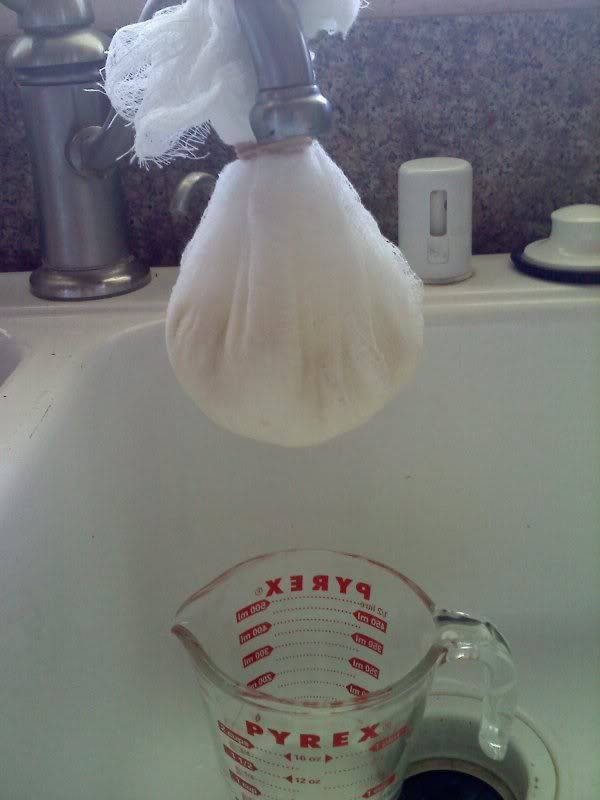
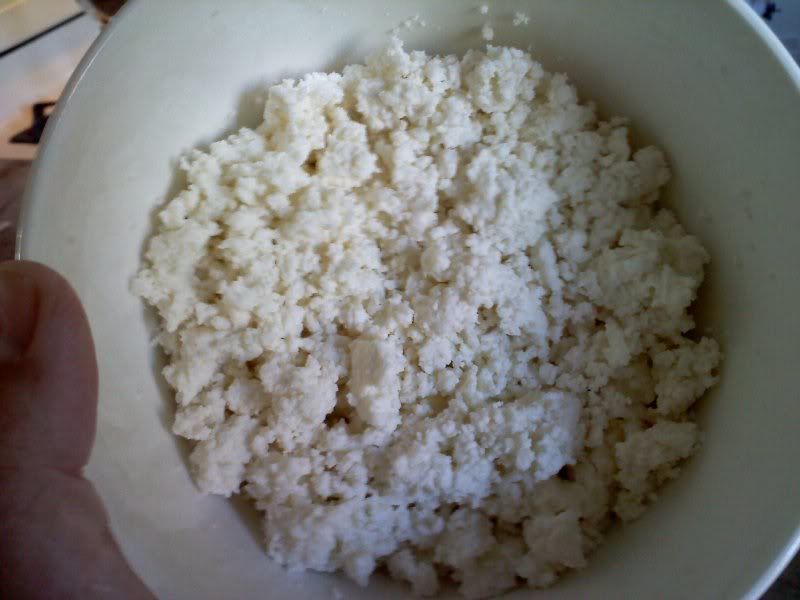
When it stopped dripping, I opened the cheesecloth and broke up the curds with my fingers since I was using it as a topping. If you want to press it together for slicing, you can do that at this time. I transferred it to a bowl and then to the fridge. I had some on that night's tacos and beans. Yum!
Do not throw away the whey! It can be used in several different ways. It can be used to make some types of cheese. You can use it in baking and cooking. It can be given to pets and plants. I will do a post on whey shortly, but for now just know that it has it's uses. Look up "uses for whey" and you will be pleasantly surprised at what you can do with it.
*Again, sorry for the poor quality of the photos. These are still pictures I took with my phone while my husband and kids were gone camping.

1 comment:
Very Cool... I will have to try this one day soon.
Post a Comment